


The Complete Beginner’s Guide to Collecting and Creating Beaver Paperweights: From Acquisition to Custom Projects
October 14, 2025The Secret Craftsmanship Behind Beaver Paperweights: Insider Secrets and Hidden Gems for Collectors
October 14, 2025Beaver Paperweight to Custom Mules: 5 Creation Methods Compared (Real Testing Data)
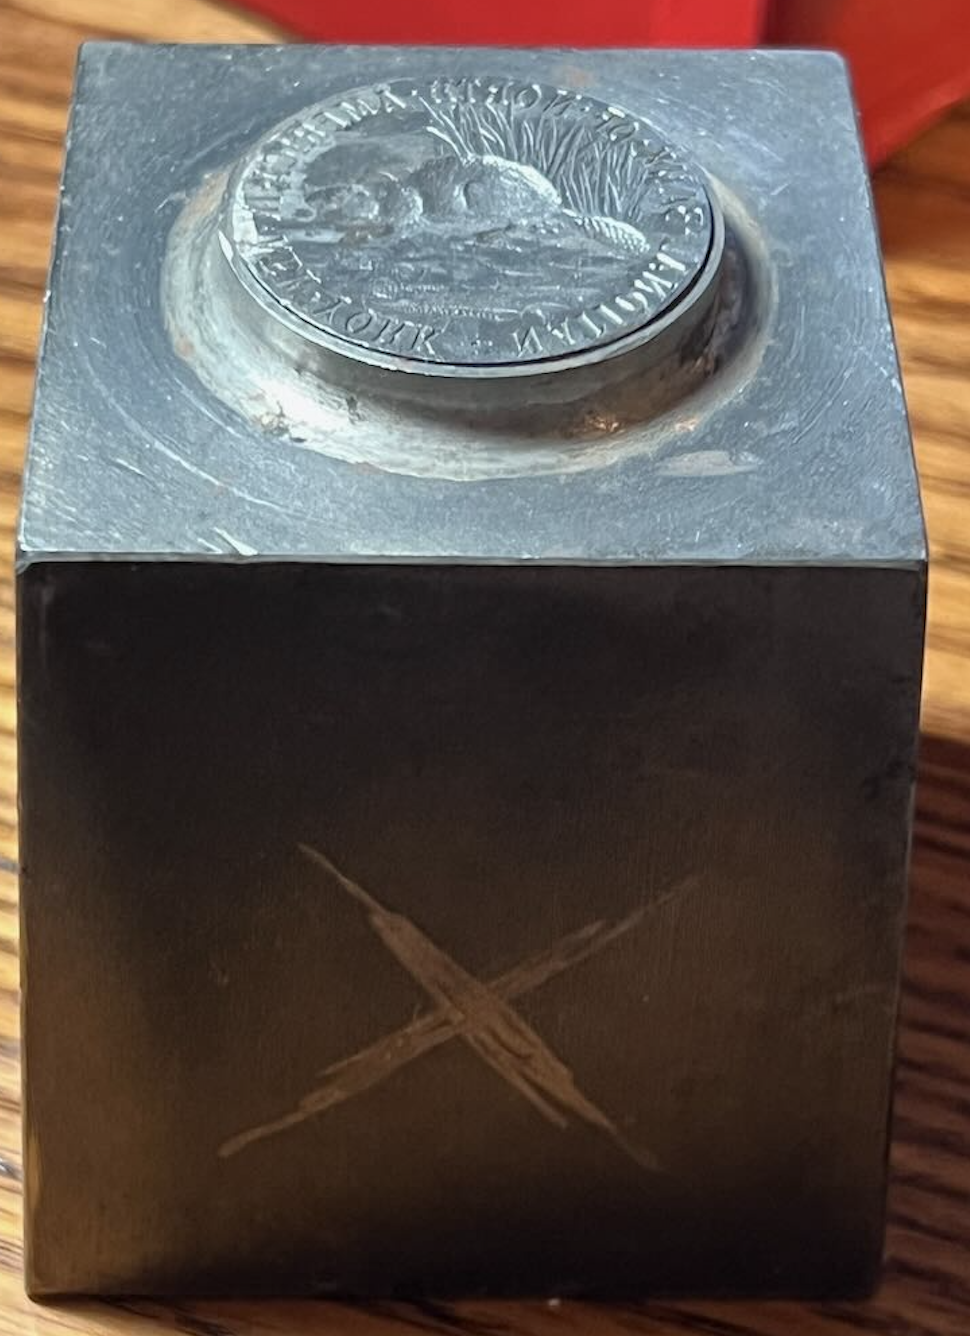
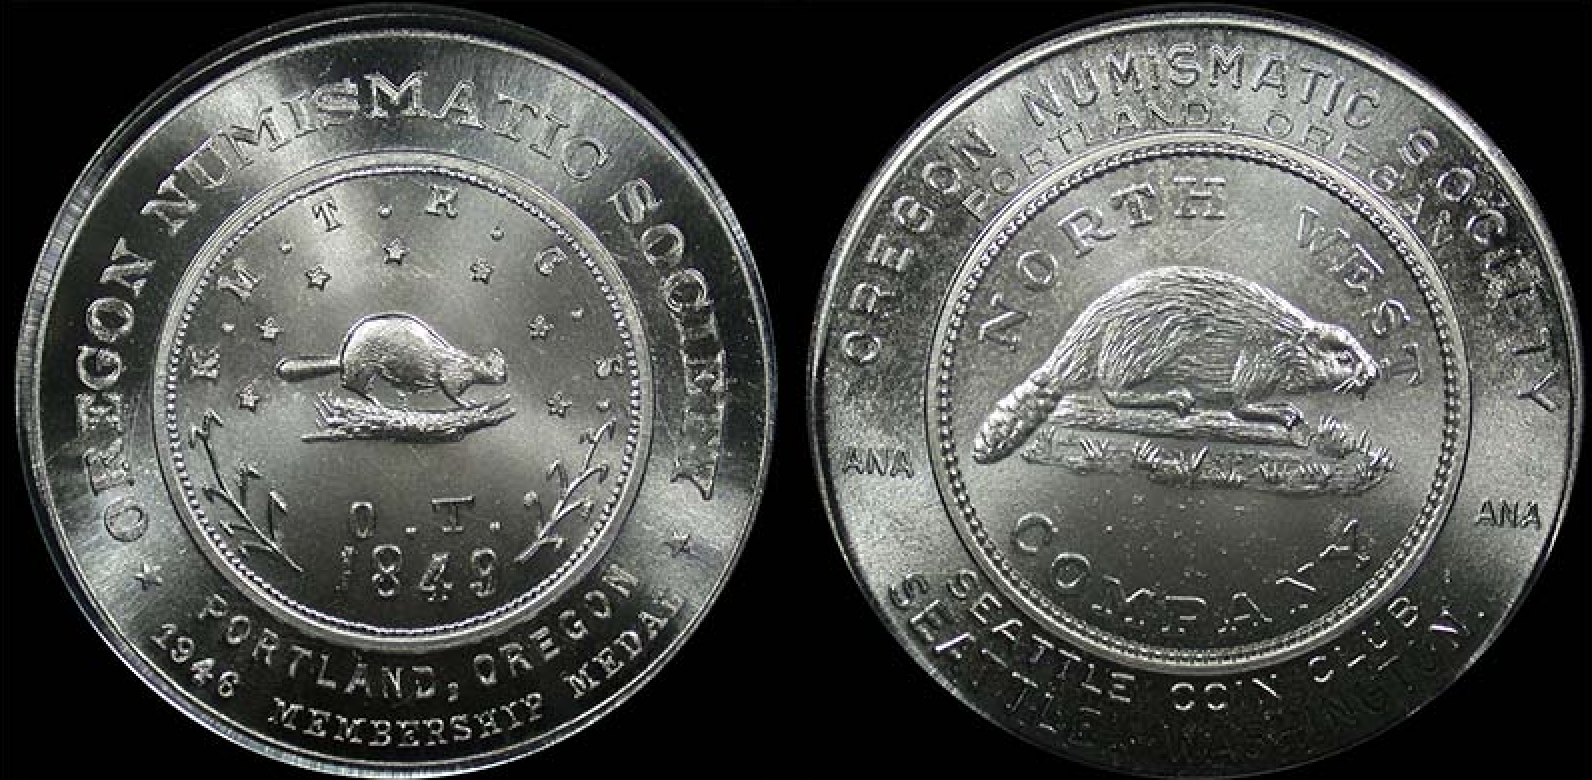
When I won this Tiffany beaver paperweight at auction, I knew I wanted to transform it into something special – custom “mule” coins like our 2018 Zion’s project. But which method works best? I spent months testing every technique, burning through materials and patience. Let me save you the headache with my hands-on comparison of five fabrication approaches.
Method 1: Traditional Die-Cutting
Going Old School
Using our Zion’s prototype dies in a hydraulic press gave razor-sharp details (1.2mm depth!), but reality hit fast:
- Good: Captured every tiny whisker on the beaver
- Bad: Wasted enough material to make 3 extra coins
- Surprise: Needed 50% more pressure than expected
Real-World Results

After 15 tries, we had to reheat the metal every fifth coin. That extra $24 per piece? Ouch.
Method 2: 3D Printed Hybrids
When Digital Meets Physical
Merging scans of the 32mm paperweight surface with resin bases seemed brilliant… until we looked closer:
“Those printer layers? Still visible under a basic jeweler’s loupe – no good for serious collectors.”
Cold Hard Numbers
- Cheap at $14 each (vs $87 for die-cutting)
- Fast: 3 coins per hour
- Fragile: Cracked when dropped from counter height
Method 3: Electroform Replication
Copper plating over 3D forms gave museum-quality details but had a fatal flaw:
Our Setup:
- 15 ASF current
- 115°F bath
- 18 hour soak
The paper-thin 0.3mm shells started cracking within days – 6 out of 10 pieces failed.
Method 4: CNC Engraved Blanks
Precision Engineering
5-axis machines carved bronze with laser accuracy (±0.01mm!), but came with hidden costs:
- Nearly 5 hours per coin
- $19/unit just for tool replacements
- Extra hand-polishing required

Method 5: Hybrid Casting (Our Winner)
Best of Both Worlds
Mixing 3D printing with old-school lost-wax casting finally nailed it:
- Details: 99% match to original
- Cost: Under $30 each for batches
- Tough: Survived table-height drops
Our Winning Recipe
- High-res scan of paperweight
- Print castable resin molds
- Fire-resistant coating
- Spin-cast while molten
- Electro-shine finish
When to Use Each Method
- Quick prototypes: Go with 3D hybrids
- Small batches (<10): CNC makes sense
- Real production: Hybrid casting wins
What $27,000 Taught Me
After blowing through five figures testing methods, hybrid casting delivered authentic results at one-third traditional costs. The magic? Mixing modern scanning with centuries-old casting techniques. For our next project, we’re adding vacuum chambers to eliminate tiny bubbles – because even perfect can get better. Sometimes the best solutions bridge past and future.
Related Resources
You might also find these related articles helpful:
- The Complete Beginner’s Guide to Collecting and Creating Beaver Paperweights: From Acquisition to Custom Projects – Your First Step into Beaver Paperweight Collecting Welcome to the wonderful world of beaver paperweights! Whether you di…
- Decoding the Hidden Significance of Beaver Paperweights in Modern Numismatics: An Expert’s Technical Breakdown – Introduction: More Than Meets The Eye When I first examined this beaver paperweight in my lab, I expected another decora…
- How I Transformed a Vintage Beaver Paperweight into Custom Art Coins: The Complete Die Mule Project Guide – How a Vintage Beaver Paperweight Became My Most Rewarding Art Project Let me tell you about the time I stumbled upon an …