


Smart Buying Guide: How to Buy WWI Victory and Participation Medals (HK-892 to HK-903) Without Getting Ripped Off
November 19, 2026Roll Hunting WWI Victory & Participation Medals: A Cherry Picker’s Guide to HK-892 Through HK-903 So-Called Dollars, Die Varieties, and Looped Rarities in Bulk Lots and Estate Sales
November 19, 2026
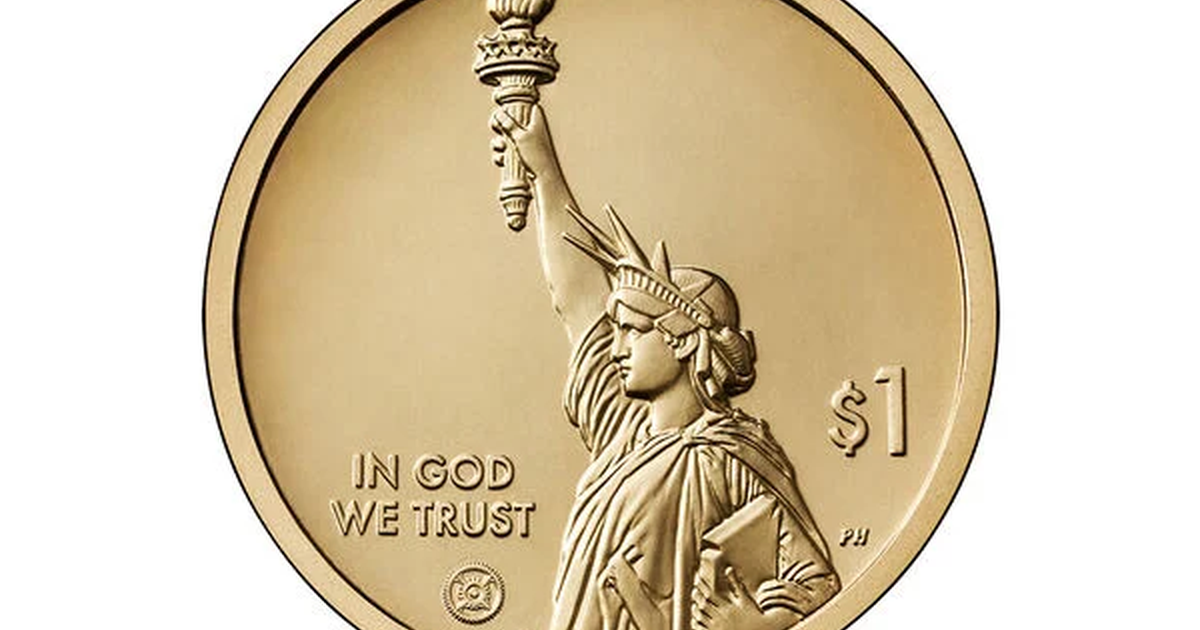
A bad photo can turn a $1,000 coin into a $10 coin. I’ve watched it happen more times than I can count. Here’s how to light and capture a piece so its true essence — and its true numismatic value — comes roaring off the screen.
I was reading a forum thread the other day titled “Something is wrong.” You know the one. A whole chorus of collectors locked out by error messages, invalid certificate verifications, price lists that refuse to load, and that dreaded broken-image icon sitting where a gorgeous registry set used to be. Then one collector said something that stopped me cold. The “invalid cert” error had shut him out of buying and bidding entirely. If he couldn’t validate the piece, pull up the TrueView image, and check the sales history, he walked away. Every single time. As a numismatic photographer, I read that and thought: when the platform’s images fail you, the only image that still works is the one you make yourself.
That’s the real lesson buried inside that frustrating thread. Servers crash. Certificates time out. Registry images vanish into the ether. But a properly lit, honestly colored, razor-sharp macro photograph sitting in your own archive? That never goes down. So in this masterclass, I’m going to walk you through the exact lighting and capture technique I use to make luster leap off the glass — axial lighting, macro fundamentals, the cartwheel effect, and true-to-life color. Master it, and your coin will never look like a $10 piece when it’s really worth $1,000.
When “Something Is Wrong” Is Actually Your Photo
Before we touch a single light stand, let me be blunt. Most coin photos aren’t ruined by gear. They’re ruined by four sins I see every single week — in submission photos, auction previews, and forum posts alike.
- The hot spot. One blinding white reflection parked dead on the devices, burying every detail underneath it.
- The black coin. Lit straight from overhead with no fill, so the fields go dark and the luster vanishes completely.
- The orange lie. A $20 gold coin that photographs red-orange because auto white balance got fooled by household LEDs.
- The soft mush. A shot taken at arm’s length with a phone, where the whole surface is “almost” in focus and nothing is actually resolved.
Here’s the good news: every one of those problems has a mechanical fix. Not one of them demands a $10,000 camera body. I’ve studied thousands of coins through a viewfinder, and in my years of grading photography, the gap between a photo that sells and a photo that gets scrolled past comes down to lighting geometry and focus discipline. Sensor size barely enters into it.
Axial Lighting: The Foundation of Every Great Coin Image
What axial lighting actually is
Axial lighting means the light travels down the optical axis of your lens. It strikes the coin from the camera’s own point of view and bounces straight back into the glass. In practice, you set a beamsplitter — a half-mirror cube, or a 45-degree front-surface mirror — between the lens and the coin. Then you aim a large, diffused light source at that mirror from above or just off to the side. The coin ends up lit from the exact direction you’re photographing it.
Why does this matter for luster? Because coin surfaces aren’t mirrors. The die flow lines that create cartwheel luster reflect light directionally. Hit them with a hard side light and you get dramatic shadows that thrill the eye in person but photograph as black holes. Axial light fills those reflections evenly, and suddenly the cartwheel luster radiates outward from the devices instead of winking in and out of existence.
Building the rig
- Light source: A daylight-balanced LED panel, 5000K–5500K, CRI 95 or higher. Cheap LEDs with lousy color rendering will murder your toning colors.
- Diffusion: Bounce the panel into a white foam-core board, or shoot through a softbox. The bigger the source relative to the coin, the better.
- Beamsplitter: A 50/50 cube beamsplitter in a holder, or a first-surface mirror angled at 45 degrees. This is the beating heart of the axial setup.
- Camera: A macro lens on a sturdy tripod, pointing straight down at the coin on a copy stand.
- Optional fill: A very low-intensity side light to add a whisper of shadow and dimensionality, so the image doesn’t go flat.
The ring-light compromise
Ring lights are technically axial, and yes, they work. But they leave a telltale circular reflection floating in the fields, and they flatten the coin in a way that smothers surface texture. I reserve them for quick slab scans. For anything I’m submitting, insuring, or selling, I want the beamsplitter every time.
Macro Fundamentals: Magnification, Working Distance, and the Diffraction Wall
This is where most hobbyist photos quietly fall apart. A true macro lens focused at 1:1 life-size will render a Morgan dollar — 38.1 mm across — slightly larger than a full-frame sensor. That means you capture the whole coin with resolution to spare, plenty for cropping into bag marks and hairlines. A 90mm, 100mm, or 105mm macro gives you comfortable working distance, so the lens never shadows the coin or bumps the light.
My baseline settings, which I tweak per coin:
- Aperture: f/8 to f/11. Push past f/16 and diffraction starts softening the image on modern high-resolution sensors. You’d be trading away depth of field for sharpness you never actually get.
- ISO: Base ISO — 100, or 64 if your body offers it. Noise eats the subtle texture of luster alive.
- Focus: Never by hand. Use a focusing rail and move the camera, not the focus ring, in tiny increments.
- Shutter: Remote release or a 2-second timer, mirror lock-up if your body has it. At macro distances, your own heartbeat is a genuine vibration source.
- Focus stacking: At 1:1, depth of field is razor-thin. I capture 20 to 60 frames while stepping through the coin, then merge them in software. The result is edge-to-edge sharpness no single frame can touch.
Variety hunters, take note
If you document VAM varieties, doubled dies, or mint errors, you’ll need to push magnification higher — 2:1 or 5:1, using a shorter-focus macro or a plan-apochromatic objective. At that scale, focus stacking isn’t a nice-to-have. It’s the entire job. Die polish lines, repunched mint marks, and die cracks only become evidence when they’re resolved sharp enough to prove a rare variety is the real thing.
Capturing Cartwheel Luster Without Killing It
Cartwheel luster is the holy grail of coin photography. It’s the single feature that separates an MS-63 photo from an MS-65 photo in a buyer’s mind — the difference between a coin that merely looks nice and one that reads as genuine mint condition. One collector in that “Something is wrong” thread was trying to show off a 1936 dime. I’ve been there. You tilt the coin in person and the luster sweeps across the surface like water. Then you post the photo, and it looks like a dull gray disk.
Here’s the thing: luster is directional. It reflects best when your light source and your viewing angle sit symmetrical to the surface. So I use a two-shot method.
- The axial hero shot. Beamsplitter lighting, coin dead flat, camera perpendicular. This shows the full cartwheel effect radiating from the devices out across the fields. This is your primary image.
- The tilt shot. Rotate the coin roughly 10–15 degrees under the same light. The luster sweep shifts, revealing the flow lines from a second angle and proving the luster is real — not a processing artifact.
Two more tricks I lean on:
- Never over-sharpen or over-clarity. Aggressive clarity sliders smear the fine reflective texture that is luster. I keep sharpening minimal and local.
- Shoot a light-sweep video. A slow rotation under axial light, exported as a short clip or GIF, communicates cartwheel luster better than any still frame. Those buyers in the forum thread were tearing their hair out because they couldn’t load TrueView images. A sweep video you host yourself is immune to their outage.
Showing Natural Color: Toning, Red Gold, and the Truth in RAW
Color fraud — whether it’s intentional or accidental — is exactly why serious buyers distrust photos in the first place. A white balance error of just 400 Kelvin can turn subtle gold toning into garish orange, or make vibrant red copper look muddy brown. Here’s my color discipline.
- Shoot RAW, always. JPEG bakes white balance into the file for good. RAW lets me correct it later with zero quality loss.
- Set a custom white balance from a gray card under the exact same lights, before the first coin of the session ever hits the stage.
- Include an X-Rite ColorChecker or a plain white balance card in the first frame of every session. It anchors your edits and proves to buyers that your colors are honest.
- Calibrate your monitor. If your screen lies, your edits lie — and the coin shows up looking nothing like the photo.
- No filters. No “enhance” presets. No saturation boosts. Toning is a major value driver and a huge part of a coin’s collectibility. A misrepresented rainbow toning isn’t a marketing edge; it’s a return waiting to happen and a reputation problem in the making.
Copper coins get special care. Red copper reflects very little light and slides into a muddy brown the instant you underexpose it. So I meter carefully, expose to the right of the histogram without clipping the planchet highlights, then pull it back in post. That natural patina stays rich and true.
Photography as Authentication — and Insurance
Remember that collector who quit bidding because he couldn’t verify certificates or load images? That vulnerability is precisely why your own photo archive matters so much. When a grading site’s cert verifier throws “invalid” on a coin you know is genuine, your high-resolution images become your proof of what you own — and of its provenance.
My archive standard for every significant purchase:
- Obverse and reverse, axial-lit hero shots.
- Tilt shots for luster verification.
- An edge shot, lit raking across the reeding or lettered edge.
- Close-ups of every bag mark, hairline, and contact mark you can find — flaws photographed honestly build far more trust than flaws hidden away.
- A frame with the slab label and certification number legible, plus a scale reference.
That set of images documents eye appeal, strike, surface preservation, and authenticity all at once. It backs up insurance appraisals, estate settlements, and future resale. And it protects you if a coin ever comes back from a grading service with a surprise you didn’t see
Related Resources
You might also find these related articles helpful:
- Something Is Wrong” With Your Net Proceeds: eBay vs. Coin Shows for Selling Graded Coins – The venue you pick to sell a coin can swing your net profit harder than the grade ever will. I work both sides of this —…
- Grading WWI Victory & Participation Medals: How Wear, Luster and Strike Separate a $10 Bronze from a $1,000 Top Pop – Condition is everything. Here is how I read the high points and fields to pin down the true grade of a piece. In my year…
- Error Hunter’s Guide to WWI Victory & Participation Medals: Spotting Die Cracks, Doubled Details, and Unlisted 1918 Varieties from HK-892 to HK-903 – Most collectors walk right past the tiny details that turn a common piece into a rarity with real numismatic value. That…


