


The Currency Connection: Blue Seals, National Bank Notes & Silver Certificates from the Era of the 1915-S Panama-Pacific Half Dollar
November 6, 2026Beyond Official Minting: Hard Times, Civil War & Merchant Tokens in Brilliant Blue Toning
November 6, 2026
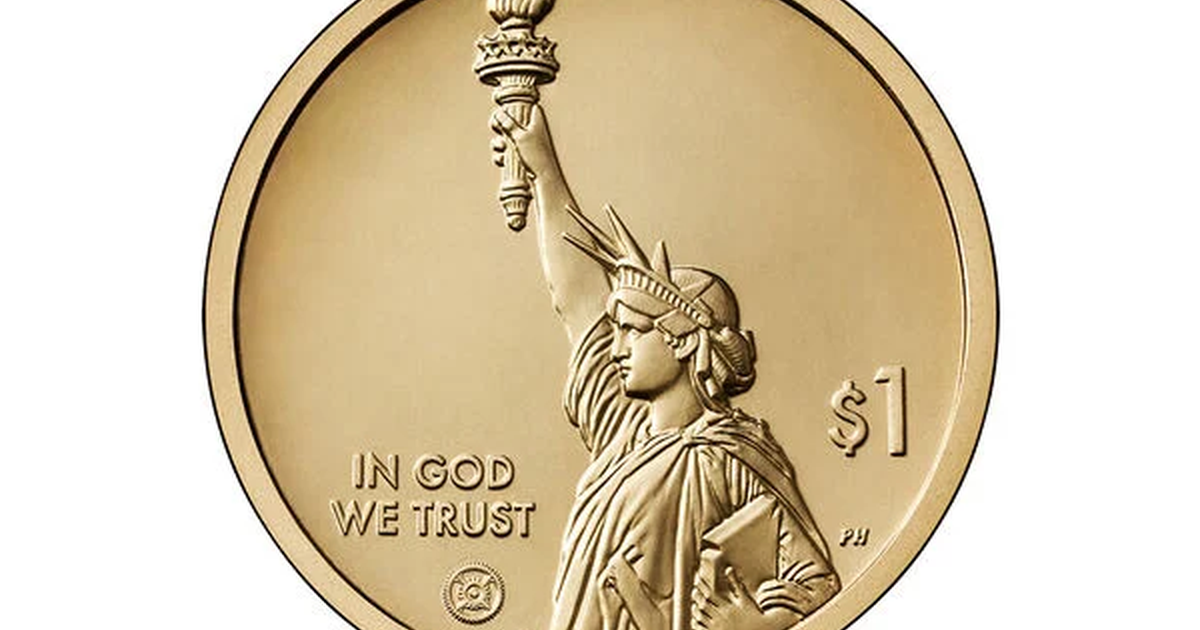
Is That a Rare Lamination Flaw, or Did Someone Just Scratch It With a Screwdriver?
Is that a rare lamination flaw, or did someone just scratch it with a screwdriver? I get asked this constantly. Let me break it down for you. I’ve examined thousands of coins submitted as “errors” over the years. Honestly? Nine times out of ten, it’s the screwdriver. Not because collectors are dishonest. It’s because a coin’s surface is a battlefield. It records everything since the day it left the press. Learning to read that surface is the most important skill in error attribution.
In my experience grading and attributing, the market is flooded with attractive-sounding labels. A flaky, peeling surface becomes a “lamination error.” A straight cut becomes a “clipped planchet.” A deep, shiny groove becomes a “die crack” or “struck through.” The language is exciting. But the premium isn’t justified unless the Mint created the feature, during planchet manufacture or during the strike itself. Anything after ejection is post-mint damage, or PMD. PMD does not add numismatic value. In most cases, it destroys it.
This isn’t a new problem. I’ve seen the same confusion play out in forum threads for decades. A collector posts a photo of a raw coin. He asks for an opinion. He gets five contradictory answers. The thread that inspired this guide was originally about a shipping address, but it captures the spirit perfectly: contradictory information, old forms mixed with new ones, and everyone trying to figure out which instruction is correct. In error attribution, we face the same issue. An old reference book may call something a lamination, a modern grading service may call it PMD, and a seller may call it whatever sells best. My job as an attribution expert is to cut through that noise and apply consistent, physical diagnostics.
Let’s start with the fundamentals. A genuine mint error must be explainable by a known Mint process. The planchet was made. It was fed into a press. It was struck between two dies inside a collar. It was ejected. If the feature cannot be placed in that sequence, it is not a mint error. That simple timeline test will save you more money than any loupe you will ever buy.
Lamination Errors: When the Planchet Itself Splits
A lamination error is one of the most misunderstood planchet flaws in American numismatics. It is not a scratch. It is not corrosion. It is not a die break. A lamination occurs before striking, during the rolling of the metal strip from which planchets are punched. If an inclusion, a gas pocket, or a fold of metal is trapped inside the strip, it creates a weak internal layer. When the planchet is struck, that weakness can open up, peel, or flake. You get a layered, ragged separation in the metal.
What a True Lamination Looks Like Under a Loupe
In my experience grading Morgan dollars, Peace dollars, and copper-nickel clad issues from the 1960s onward, true laminations have a very specific anatomy. First, the separation follows the grain of the metal. It is not a clean, straight line cut by a tool. It is irregular, fibrous, and often stepped, like pages of a book that have been torn apart. Second, the edges of the lamination are raised or rolled over by the strike. Because the lamination was present when the dies hit, the metal around it was compressed. You will often see design elements that are distorted, stretched, or partially missing where the lamination opened, but the rim and lettering nearby will show strike flow.
Third, the interior of the lamination will have the same color and patina as the surrounding coin, aged consistently. It will not be bright, fresh, and shiny like a newly dug tool mark. Fourth, laminations on clad coinage often affect only one layer. On a 90 percent silver coin, a lamination can run deep. On a copper-nickel clad Jefferson nickel or Washington quarter, you may see the outer nickel layer peel back to reveal the copper core, which will have a distinct reddish tone that is consistent with the coin’s overall wear.
Common Lamination Fakes and Misattributions
The most common confusion is between a lamination and environmental damage or a planchet crack caused by a single, heavy hit after minting. A post-mint hit will displace metal, create a burr, and often show a bright, untoned interior because the protective surface was broken recently. A lamination, by contrast, was sealed and struck, so its interior is part of the original surface.
I also see collectors mislabeling die deterioration and heavy circulation as laminations. Circulation wear is even across high points. A lamination is localized, often starting at the rim or field and running inward, and it interrupts design in a way wear never does. If the devices flow uninterrupted over the supposed lamination, be skeptical. The Mint strike would have affected them.
- True lamination: Irregular, layered, fibrous edges; metal flow around the opening; consistent toning inside and out; often associated with weak or missing design where metal separated.
- Post-mint peel or pry mark: Sharp, angular edges; bright interior; tool marks visible at the ends; no strike flow; often starts at the edge where a tool was inserted.
- Corrosion or environmental pitting: Granular, bubbly texture; no directional grain; extends randomly across fields and devices without regard to strike.
Actionable takeaway: Never buy a lamination based on a photo alone. Ask for a straight-on and angled photo under diffuse light. A true lamination will cast a shadow from its raised lip. A flat scratch will not.
Clipped Planchets: The Straight Edge That Can’t Be Faked Easily
If laminations are the most overused label, clipped planchets are the most coveted by beginners because they are visually dramatic. A clipped planchet occurs when the metal strip fed into the press is not perfectly aligned, and the blanking punch cuts a planchet that overlaps the edge of the strip. The result is a planchet missing a segment, with one straight or slightly curved edge where the blank was cut off.
Genuine clips are collectible and can add a significant premium, especially on large silver dollars and early copper issues where the clip is bold and the strike is complete on the remaining portion. But I have examined more “clips” that were simply sawed, filed, or cut with tin snips than I can count. The difference is in the edge.
Anatomy of a Genuine Clip
On a genuine clipped planchet, the straight edge is the edge of the original strip. It was cut by the blanking punch before striking, so it was then struck by the die and collar. That means the clipped edge will show the same rim formation, the same reeding or plain edge characteristics as the rest of the coin, compressed by the strike. On a reeded coin, the reeds will continue, uninterrupted, to the clip. On a plain edge coin, the clip edge will be slightly rounded and will have the same surface texture as the rim.
Most importantly, the design will be affected correctly. If the clip removed part of the rim, the design near that edge will be truncated by the missing metal, but what remains will be fully struck and sharp. The coin will be lighter than a normal example, and its diameter from the clip edge to the opposite rim will be measurably less than the standard diameter. That is a test I perform in hand with calipers on every clip I attribute.
How Post-Mint Cutting Betrays Itself
A post-mint cut is made after the coin is finished. The tool does not know about reeding, rim height, or strike flow. Under a 10x loupe, I look for saw teeth, file marks, or shear lines that run perpendicular to the edge. The cut surface is usually flat, bright, and unstruck. It will cut through design and reeding indiscriminately, leaving sharp burrs. The color of the cut is often different because fresh metal is exposed. And crucially, the rim is not formed on the cut edge. It is simply missing.
Another tell is weight and balance. A genuine clip is a planchet that was struck. The metal was displaced by the dies, so the coin feels correct for its remaining size. A coin cut down after minting will often have a slightly distorted shape, with the opposite side bulging or the edge showing stress cracks from the cutting force.
- Measure the diameter across the clip. It must be less than standard, but the remaining arc must be a perfect circle.
- Check the reeding. On reeded issues, reeds must be complete and struck on the clip edge.
- Examine the clip surface under angled light. It should be smooth, struck, and toned like the rim, not bright and scratched.
- Look for design truncation. The missing segment should remove design cleanly, as if it was never there, not slice through letters mid-stroke with a fresh cut.
In my experience, the most dangerous fakes are on common coins where the premium for a clip might be ten times the base value. The forger knows collectors want a story. Do not give them your money without physical diagnostics.
Post-Mint Damage: The Value Killer Hiding in Plain Sight
Post-mint damage is not a single error. It is a category that includes everything that happened to a coin after it left the Mint: tooling, scratching, bending, hammering, mounting, cleaning, and deliberate alteration to create a fake error. Grading services do not penalize PMD lightly. A coin with significant PMD will be graded as damaged, often net-graded well below its apparent wear, and it will be ineligible for many error designations.
Tooling Marks: The Signature of a Hand That Should Not Have Been There
Tooling is my bread and butter as an attribution expert because it is so revealing. Tooling marks are created by gravers, screwdrivers, files, knives, and jeweler’s saws. They have a beginning and an end. They start where the tool entered and stop where it lifted. Under magnification, you can see the chatter, the V-shaped groove, and the displaced metal pushed up on one side of the line.
I have seen tooling used to try to create a “die crack” by engraving a line across the field, to create a “repunched mintmark” by carving a second mark, and to create a “clipped planchet” by sawing off a segment. In every case, the tooling ignores the strike. It cuts through luster, it cuts through toning, and it creates a bright line that glows under light. A genuine die crack is raised, with metal flow, and it is part of the design. A tooled line is incised, with metal removed.
Another classic is the “screwdriver test” from our opening hook. A collector finds a deep scratch on a Morgan dollar and calls it a lamination or a strike-through. I turn the coin under light and rotate it. A screwdriver scratch will have a consistent width, parallel sides, and a pointed end where the tip dug in. It will cross design elements without distortion. A lamination will not be a straight groove. It will be a separation with depth and layering.
Other Forms of PMD You Must Know
Bending is another major category. A bent coin was pried, run over, or intentionally bent to create a “folded planchet” error. A genuine fold occurs before striking and will show strike on the fold. A post-mint bend will show a sharp crease, with metal stretched and cracked on the outside of the bend and compressed on the inside. The luster will be broken in a line.
Hammering and flattening are used to try to create “off-metal” or “broadstrike” errors. The coin will have hammer marks, often circular, with displaced metal around the rim. Cleaning, especially with abrasive pads or harsh chemicals, removes the original mint luster and leaves hairlines that mimic die polish but are random and directionless. Mounted coins, with solder or glue residue, are damaged, no matter how rare the variety.
- Scratches: Straight, uniform width, bright interior, cross design without flow.
- Dings and hits: Localized displacement with a burr on one side, often with fresh metal showing.
- Tooling: V-shaped grooves, chatter marks, entry and exit points, bright fresh metal.
- Cleaning hairlines: Hundreds of fine, random, intersecting lines that kill luster across the entire surface.
The key principle I teach every buyer is this: PMD is almost always brighter, sharper, and more recent-looking than the coin around it. Mint features age with the coin. Damage looks like it happened yesterday.
A Field Guide: Five Diagnostic Checks I Use in Hand
When I am at a show or examining a submission, I do not start with a reference book. I start with the coin in my hand, a loupe, and a sequence of checks that I have refined over decades. You can apply these same checks at home.
Check One: Follow the Metal Flow
Rotate the coin under a single light source. Genuine mint features will show metal flow consistent with striking. Letters will be stretched toward the rim, devices will have flow lines, and rims will be rounded. PMD breaks flow. A scratch will interrupt flow lines. A cut will have no flow at all.
Check Two: Compare Toning and Color
Look inside the feature. Is the color the same as the fields? Original toning develops over decades and is uniform in its aging. Fresh PMD exposes bright, untoned metal. On silver coins, that bright spot is unmistakable. On copper, fresh metal is bright pink. If the feature looks cleaned, it is damaged.
Check Three: Examine the Edges of the Feature
Mint features have struck edges. They are rounded, compressed, and integrated. PMD has sharp edges. Run a fingertip lightly over a suspected lamination. A true lamination will have a raised, rolled lip. A scratch will be a groove you can feel as a depression with sharp sides. A saw cut will be rough to the touch.
Check Four: Test for Design Logic
Ask yourself: if this happened at the Mint, what would the design look like? A clipped planchet must truncate design logically. A lamination must distort design where metal separated. A die crack must be raised and must not cut through the design. If the design flows perfectly over your “error,” it is not an error.
Check Five: Measure and Weigh
Never underestimate calipers and a scale. A genuine clip will be light and short across one axis. A lamination will not change weight significantly but will show a consistent diameter. A coin that has been cut down or heavily tooled will often be underweight or have an irregular diameter. Numbers do not lie, even when sellers do.
I recommend practicing these checks on known genuine examples first. Buy a certified lamination or clip, study it, then compare it to raw examples. Your eye will calibrate faster than any article can teach you.
Grading and Market Reality: Why Attribution Matters
The difference between a genuine error and PMD is not academic. It is financial. A genuine lamination on a key date Morgan dollar might add 50 to 100 percent to the value. The same coin with PMD labeled as a lamination will be rejected by PCGS or NGC, returned as damaged, and will sell for a fraction of its undamaged value at auction. A genuine clipped 1793 cent is a major rarity. A sawed 1793 cent is a damaged coin worth melt and curiosity value.
In my experience grading, services have become stricter, and rightly so. They have seen the flood of tooling and PMD submitted as errors. They now require that the feature be unmistakable and consistent with a Mint process. If there is doubt, they will grade the coin as damaged and will not attribute the error. That designation stays on the holder and follows the coin forever.
For sellers, this means honesty is the best strategy. Describe PMD accurately. A coin with honest wear and a small ding will sell. A coin misrepresented as a rare error will be returned, and your reputation will suffer. For buyers, this means certification matters. For common error types, buy the holder, not just the coin. For rare types, buy from a dealer who will guarantee attribution and will let you examine the coin under magnification before you pay.
I’ve examined the same “rare lamination” three times at three different shows, each time with a different seller and a higher price. Each time, it was the same screwdriver scratch, cleaned and toned to look older. The Mint does not make mistakes that look exactly like tool marks.
That quote captures why expert attribution is a specialty. It requires pattern recognition built over years of handling both genuine and damaged material. A coin in true mint condition with strong eye appeal and a clear provenance will always command respect. A damaged coin, no matter the story, will not.
Buyer and Seller Takeaways for the Modern Market
Whether you are buying your first error or selling a long-held collection, these takeaways will protect you.
- For buyers: Always ask for weight, diameter, and close-up photos of the edge and interior of any planchet flaw. If a seller cannot provide them, walk away.
- For buyers: Learn the specific metal composition of your series. A lamination on 90 percent silver behaves differently than on copper-nickel clad. Know what you should see.
- For sellers: Photograph your coin under both diffuse and angled light. Angled light reveals tooling and PMD that diffuse light hides. Transparency builds trust.
- For sellers: Do not clean a coin to “show the error better.” Cleaning creates PMD and destroys the very toning that proves a feature is original.
- For both: When in doubt, submit for professional attribution before listing. The cost of grading is far less than the cost of a misattribution.
I also urge collectors to study VAMs and other variety references correctly. A VAM designation is for die varieties, not for planchet flaws or damage. Conflating a die crack with a lamination, or a tool mark with a VAM, only confuses the market. Use the correct terminology, and you will be taken seriously by dealers and grading services alike.
Conclusion: Reading the Surface Is Reading History
A coin’s surface is its autobiography. The Mint wrote the first chapter when the planchet was made and struck. Every owner, every pocket, every tool, and every accident wrote the chapters that followed. Our job as collectors is to distinguish the Mint’s handwriting from everyone else’s.
Lamination errors and clipped planchets are genuinely fascinating and collectible when they are real. They connect us to the industrial process of coinage, to the rolling mills, the blanking presses, and the imperfections of mass production in the 19th and 20th centuries. They deserve study and they deserve a premium. But they do not deserve to be confused with a scratch made in a garage last Tuesday.
Post-mint damage, by contrast, is also history, but it is not Mint history. It is the history of mishandling, and while it can be interesting, it does not make a coin rarer or more valuable. Learning to tell the difference is what separates a collector from a speculator, and an expert from a hopeful guesser.
The next time you hold a coin and wonder if you have found a rare flaw, run through the five checks. Follow the metal flow. Compare the toning. Examine the edges. Test the design logic. Measure and weigh. If the coin passes those tests, you may have something special. If it fails, you have learned a valuable lesson for the price of a loupe. In numismatics, that lesson is worth more than any single error will ever be.
Related Resources
You might also find these related articles helpful:
- The Currency Connection: Blue Seals, National Bank Notes & Silver Certificates from the Era of the 1915-S Panama-Pacific Half Dollar – Coins didn’t circulate in a vacuum. I want to show you the paper money that sat right alongside them. When collect…
- Advanced Identification: Discovering Rare Die Marriages and VAMs — Why Exact Attribution Changes Everything – For the Advanced Collector, Identifying the Exact Pair of Dies Is the Ultimate Thrill For the advanced collector, identi…
- Blue Toned Moderns vs. Ancient Roman Coins: Why a 2016 Titanium Penguin Is Not a Denarius — Grading, Patina, and Preservation Compared – How does collecting this relatively modern piece compare to holding a coin struck in the Roman Empire? I get asked this …
