


Early vs. Late Die State: A Grader’s Guide to Strike, Wear, and “Wow, Quite a Change”
September 24, 2026Can Stefanie Haydu’s Favorite Exonumia Become a Coin Ring? A Collector-Crafter’s Guide to Silver, Hardness, and Memorial Jewelry
September 25, 2026
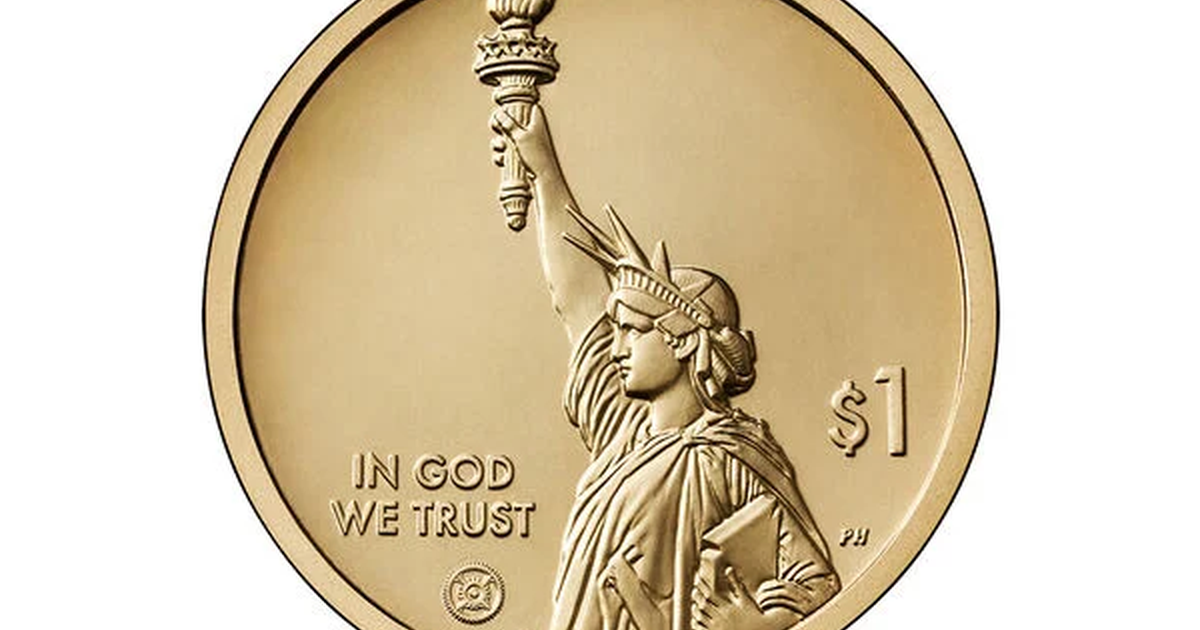
A $1,000 Coin Can Look Like a $10 Coin in the Wrong Light
I’ve seen it happen countless times: a magnificent coin that commands serious numismatic value gets swallowed by poor lighting and loses all its edge. Here’s why proper lighting matters, and how to capture the real story your piece tells.
This isn’t about assigning market worth—photography doesn’t evaluate numismatic value directly—but it perfectly shows the problem I face daily. A stunning coin loses its character when underbad illumination. Dates blur beyond recognition. Mint marks vanish. Even subtle differences in luster become invisible. The result? Collectors walk away thinking they’re looking at a cheap specimen when the coin is anything less than exceptional.
My philosophy is simple: a photograph should serve as evidence, not decoration. The best images answer three vital questions for any buyer or scholar. What is the coin—its type, date, denomination, and mint mark? What does its surface, strike, and color actually reveal? And which details support the seller’s claims, versus which remain unverified? These answers determine how much collectibility the piece truly deserves.
Set Up a Studio That Doesn’t Distract from the Coin
Consistency beats complexity every time. I build one repeatable station that can be deployed across every session. When every shoot shares the same geometry, background, and color references, distinguishing genuine changes in the coin from mere lighting variations becomes straightforward.
My essential equipment
- A rigid tripod: Non-negotiable for focus stacking and precise axial-light experiments that bring out the finest details.
- A true macro lens or extension setup: A 60–105 mm macro lens covers most coin ranges elegantly. Extension kits boost magnification but sacrifice focusing flexibility and light quality.
- A controllable continuous light: Dimmable LEDs let me fine-tune brightness without fighting color temperature shifts—crucial when matching skin tones to warm metals.
- A large diffuser: Whether it’s a softbox, diffusion panel, or scrim, a bigger light source creates gentler shadows and richer reflections.
- Black and white cards: Black cards kill unwanted glares; white cards deliver soft fill. Both stay outside the shot zone.
- A neutral gray card or color reference: Perfect for anchoring white balance to ensure your eyes match the camera’s perception.
- A neutral background: Choose the tone deliberately rather than settling for whatever surface happens to be handy.
- A coin-safe support and a blower: Hold the piece securely and remove dust without scratching the die.
Clean, uncluttered surroundings matter as much as the gear. Strip away stands, cables, fingerprints, and stray reflections from the frame. Place the subject on a pristine, stationary platform. For a rotating display base during cartwheel sequences, I keep the markings and movement under tight control.
With valuable loose coins, I cradle them by their edges using clean, dry hands and a padded support. Encapsulated pieces move easily via their holder’s edges. I never force a coin into a compromising position just to improve the composition—that would damage both the item and its provenance.
Master Axial Lighting: Make Luster Visible
Axial lighting is the secret to revealing the rolling reflectivity that defines a coin’s luster. On a metallic surface, those microscopic or structurally complex areas interact with light in ways that create striking bands. On proof issues, that interaction produces a brilliant highlight that dances as the coin rotates.
The technique hinges on positioning the light at a shallow angle relative to the coin while keeping the camera nearly perpendicular to its surface. From my vantage point, the camera catches the reflection from specific surface features instead of a flat, generic glow across the entire field.
Geometry before gear
I position the camera directly above the coin with the lens plane parallel to the piece. Then I raise and reposition the light until it illuminates the subject at approximately 30–45 degrees above the coin’s plane**. This initial placement sets the stage for everything that follows.
Related Resources
You might also find these related articles helpful:
- Early vs. Late Die State: A Grader’s Guide to Strike, Wear, and “Wow, Quite a Change” – A coin struck from a relatively fresh die can look strikingly different from one struck as that die neared retirement. I…
- “Wow, Quite a Change”: Carson City, New Orleans, and San Francisco Mint Marks – When I appraise a coin, I start with the mint mark: where it was struck can matter just as much as when. The date places…
- Monster Toning vs. Artificial: Decoding Rainbow, Bag, and Album Color on Silver Dollars – Beautifully toned coins can bring hefty premiums. I love a rich rainbow patina, but the line between naturally acquired …


